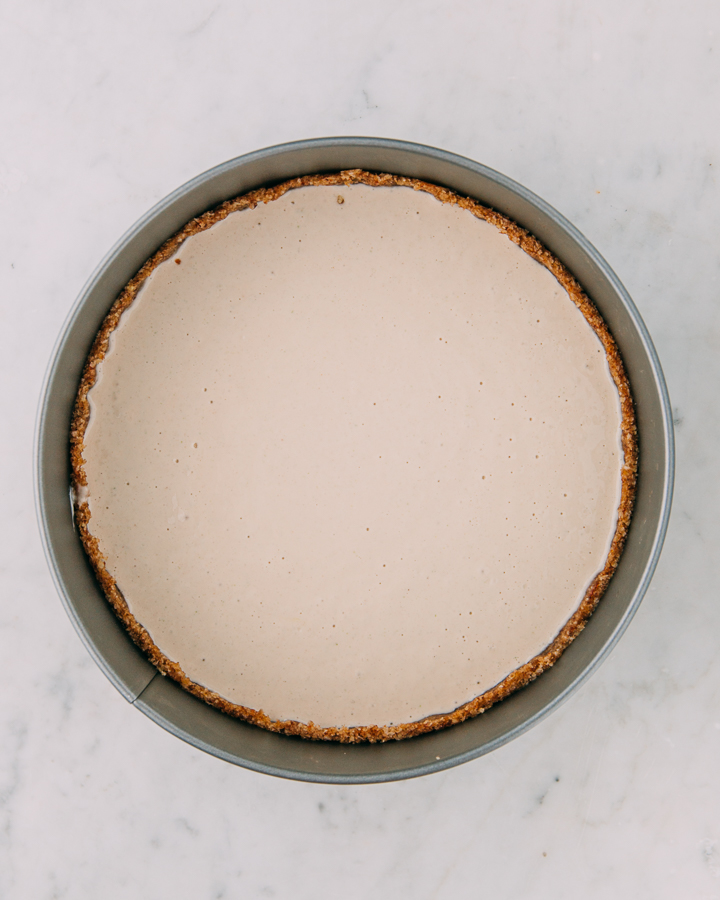
Are you a baked or raw cheesecake lover? I love both, because the baked cheesecake reminds of me of my childhood growing up in Germany and the no-bake, raw version just is so fresh, summery and makes me think of the years I lived in the USA. Since we’re having an extremely hot summer this year, I decided to make this sweet and tangy no-bake lime cheesecake with the addition of green and gold kiwis. One of my favorite sweet treats in the States was key lime pie and guys this cheesecake tastes so much like it!! And besides being super delicious, it’s vegan, dairy free, gluten free and refined sugar free. I mean com’on, can it get any better?!


If you haven’t made a raw cake before, you might be a bit intimated by the look and sound of it but please, don’t be! It’s seriously so easy. It just requires a few extra steps, a good food processor and a great blender – that’s not a must but good quality kitchen appliances will give you the results much faster, easier and also the filling will get super silky and smooth.


For the crust:
1 cup medjool dates
1 cup walnuts
1/2 cup desiccated coconut
1 pinch of sea salt
For the filling:
1 cup cashews – soaked over night or in boiling hot water for 1 hour
1/2 tsp vanilla bean powder – please use the real deal
2 tbsp organic lime zest
1/4 cup organic lime juice – about 2 large limes
1/2 cup maple syrup
1 cup cashew yoghurt (or coconut yoghurt) – you can also use almond or soy but I don’t like the runny consistency for the cake
1/4 cup plantbased cream cheese – I use an almond base cream cheese
1 pinch of sea salt
Also:
23cm Ø cake pan – you can use a smaller one, just press the crust a bit higher so filling fits within the crust
Parchment paper
Food processor
High speed blender
HOW TO
1| Start by soaking the cashews over night or in hot water for 1 hour. Drain, rinse and set aside.
2| Blend the medjool dates in the food processor by pulsing them a few times – makes sure you pitted them all or you will have to start over and that’s a shame. Add the walnuts and coconut to the dates and mix until you have a fairly fine mixture – you still want little crunchy bits of walnuts – that comes of the sides of the food processor but will stick together when you press it down with your fingers. Now you will put the crust mixture into cake pan (line the bottom of the pan with parchment paper) and press down with either your fingers, a round measuring cup or mug, going up the sides about 4 cm. Use a bit of parchment paper to press down the mixture if it’s too sticky. Put the crust in the freezer and prepare the filling in the meantime.
3| Toss the rest of the ingredients – exept for the kiwis – in your high speed blender and give it go for about 1-2 minutes or until you have a super smooth mixture. Scrape down the sides a couple of times. While that is happening, peel and slice the kiwis. Take the crust out of the freezer, arrange the kiwis on it and slowly pour the filling onto the crust. Carefully tap the cake pan a few times on the kitchen counter for air bubbles to be released and then pop it in the freezer for a mimimum of 6-8 hours or better over night.
4| When ready for serving, take the cake 20-30 minutes prior to eating out of the freezer and decorate with more kiwi slices. Slice the cake with a large, sharp knife – I like to run it under hot water to make the slicing easier – and enjoy!


